

Cost of Installing a Home Safe in Plant City
Table of Contents
Understanding Home Safe Installation Cost
Factors That Affect Home Safe Installation Cost
Floor Safe Installation: What to Expect
Where to Install a Home Safe
Safe Anchoring and Bolting Requirements
Residential Safe Installation Services
DIY vs. Professional Installation
Conclusion
Frequently Asked Questions
Last Updated: October 21, 2026
Understanding Home Safe Installation Cost
The cost of installing a home safe in Plant City varies significantly based on safe type, size, weight, installation complexity, and whether you hire professionals or attempt a DIY approach. Understanding these variables upfront helps homeowners budget accurately and avoid unexpected costs.
Your total investment typically includes the safe itself, delivery fees, installation labor, anchoring materials, and any site modifications needed to accommodate the safe securely.
The real challenge is knowing what questions to ask before you commit. Many homeowners underestimate proper anchoring and site preparation, which directly impact security and long-term functionality. Getting this right the first time prevents costly repairs down the road.
Factors That Affect Home Safe Installation Cost
Most published estimates are broad national ranges. A more useful approach is to break the bill into the line items a local installer actually quotes.
Safe weight and size. Weight is the single largest cost driver because it determines crew size, lifting equipment, and anchoring hardware.
Safe type and mounting method. A wall safe that fits between studs is the least expensive to install, requiring only stud location, pilot holes, and lag bolts.
Access and placement. The distance from the truck to the final location matters more than most homeowners expect. Ground-level placement with a straight path from the driveway is the baseline.
Anchoring and structural preparation. Anchoring into a concrete slab is usually faster than reinforcing a wood-framed floor. Concrete anchoring involves drilling and setting wedge or sleeve anchors.
Delivery fees. Delivery is often quoted separately from installation. Local delivery within a few miles may be a flat fee, while lift gate, stairs, or inside placement add charges.
Site preparation and finishing. Cutting concrete generates dust and requires containment. Removing and replacing flooring, patching drywall, or touching up paint adds time and materials, though costs are lower during a renovation when the area is already opened up.
Permits and building considerations. Some jurisdictions require a permit for structural modifications like cutting a concrete slab or reinforcing floor framing, and permit fees and inspection time add cost.
Travel and after-hours charges. Local installers may charge a trip fee or mileage beyond a certain radius, and evening or weekend installations often carry a premium. Confirm whether these are included when comparing quotes.
Insurance and warranty requirements. Some manufacturers require professional installation to keep the safe's warranty valid, and some homeowner policies require it for contents coverage.
To compare quotes fairly, ask for an itemized estimate with separate lines for delivery, labor, anchoring materials, site preparation, and travel or after-hours charges.
Floor Safe Installation: What to Expect
Floor safes are among the most secure options but require the most preparation. A floor safe installation involves cutting into your flooring, reinforcing the subfloor, and securing the safe below floor level, providing superior concealment and making theft significantly more difficult.
The process begins with site assessment. Professionals evaluate your floor structure, check for wiring or plumbing beneath the proposed location, and determine if additional support is needed. This takes 30-60 minutes and may involve ground-penetrating radar to identify hidden utilities.
Concrete cutting follows. Crews cut an opening slightly larger than the safe's dimensions, generating significant dust and noise for 2-4 hours depending on concrete thickness and reinforcement. Tile or hardwood above concrete requires removal first, adding 1-2 hours.
Subfloor reinforcement comes next. Steel plates or additional joists distribute the safe's weight evenly, preventing sagging and keeping the safe level and functional. This typically takes 1-3 hours depending on the safe's weight and your home's structure.
Anchoring involves drilling holes through the safe's base and securing it with heavy-duty bolts into concrete or reinforced wood, preventing removal or tilting. This takes 1-2 hours and requires specialized tools.
Finally, finishing work restores your flooring: concrete is sealed around the safe's edges and flooring is replaced or repaired. This phase requires 2-4 hours plus drying time for sealants.
Where to Install a Home Safe
Location selection impacts both security and functionality. The best placement balances accessibility with concealment, accessible during emergencies but hidden enough that casual intruders won't find it immediately.
Bedrooms offer convenient access but are the first place burglars search. Master closets provide better concealment than open walls, and nightstands near beds allow quick access during emergencies without navigating dark hallways.
Home offices are excellent safe locations, particularly in closets or behind artwork. These rooms see less traffic, making the safe less conspicuous to visitors while remaining accessible during business hours.
Basements and utility rooms offer superior concealment but sacrifice accessibility. A safe hidden behind stored items requires more effort to reach during emergencies, but this location dramatically reduces the likelihood of theft discovery.
Garages present security trade-offs. Easy access makes them convenient, but garages are often less secure than interior rooms, with thinner walls and frequent access from contractors and service providers.
Concealed locations behind false walls, under staircases, or inside custom cabinetry provide maximum security but require professional installation and careful planning during renovation or new construction.
Consider your home's layout and traffic patterns. A location that fits your family's routine ensures you'll actually access the safe during emergencies rather than forgetting its location.

Safe Anchoring and Bolting Requirements
Anchoring is where security and installation cost intersect. An unanchored safe can be carried out or tipped and pried; a properly anchored one resists both.
Concrete anchoring. Bolting into a concrete slab or foundation is the strongest common method. Installers drill holes through the safe's base or back, insert wedge or sleeve anchors, and torque them to the manufacturer's specification. A small wall safe may use four 3/8-inch anchors, while a large gun safe may use six or more 1/2-inch anchors.
Wood-floor anchoring. Standard wood joists aren't dense enough to hold a bolt reliably over time. The common approach is to add blocking or a steel plate between joists, then bolt through the safe's base into the blocking, distributing the load and giving bolts something solid to bite into.
Wall anchoring. Wall safes must be anchored into studs or structural framing, not drywall alone. Installers locate studs, drill pilot holes, and use lag bolts or structural screws long enough to penetrate deeply.
Security trade-offs. Anchoring to a concrete slab provides the highest resistance to removal but makes the safe harder to relocate later. Wood framing is adequate for many residential applications but depends on the framing's condition and the safe's weight.
Cost implications. Anchoring materials are usually a small line item compared with labor. The bigger cost is the time to prepare the surface, locate hidden utilities, add blocking, and torque anchors correctly. A quote that includes anchoring should specify the method and hardware so you can compare it fairly.
Inspection and maintenance. Anchors can loosen over time due to vibration, temperature changes, and settling. Check them annually and re-torque if needed. If the safe rocks or the anchors show movement, have them inspected before relying on the safe for security.
Watch Out Do not assume that a heavy safe does not need anchoring. Weight alone is not a substitute for anchoring, and an unanchored safe can be tipped, pried, or removed with the right equipment.
Residential Safe Installation Services
Professional installation services handle every aspect of getting your safe securely positioned and operational, eliminating guesswork. Installers bring specialized knowledge about structural requirements, building codes, and security best practices.
The initial consultation covers your security needs, safe preferences, and installation location. Professionals assess your home's structure, identify potential challenges, and provide realistic timelines.
Site preparation follows. Installers protect your home from dust, debris, and damage by covering flooring, temporarily removing doors, or relocating furniture to create working space, which prevents damage to finishes and reduces cleanup.
Installation involves positioning the safe, ensuring it's level, and anchoring it securely. Installers use specialized equipment to move heavy safes safely, then verify that doors open and close smoothly, locks function properly, and the safe sits level.
Post-installation services include testing all locking mechanisms, demonstrating operation, and discussing maintenance, including how to change combinations, what to do if you forget one, and when to schedule service.
Warranty coverage often accompanies professional installation. Many manufacturers require it to maintain warranty coverage; DIY installation may void the warranty, leaving you responsible for all repair costs.
DIY vs. Professional Installation
DIY safe installation saves money but introduces significant risks. The decision depends on your comfort level with tools, your home's construction, and the safe's size and weight.
DIY works best for lightweight wall safes in standard homes. A 100-pound wall safe with accessible studs can be installed by a competent homeowner with basic tools, locating studs, drilling pilot holes, installing lag bolts, and mounting the safe, in 2-4 hours using a stud finder, drill, and hand tools.
However, DIY fails for heavier safes, floor installations, or complex structural requirements. Installing an 800-pound floor safe without proper equipment risks serious injury, improper anchoring leaves the safe vulnerable to theft, and mistakes during concrete cutting can damage hidden utilities and create expensive repairs.
Professional installation costs more upfront but provides peace of mind and proper security. Installers bring specialized equipment, structural knowledge, and insurance coverage, and the company bears responsibility if something goes wrong. With DIY, you bear all responsibility and liability.
Building code compliance is another consideration. Some jurisdictions require licensed professionals for safes, particularly floor safes involving structural modifications. Professional installers understand local codes and ensure installations meet requirements; DIY installations that violate codes may create liability issues if theft occurs.
Insurance implications matter significantly. Some homeowner policies require professional installation for contents coverage, so verify your policy requirements before deciding. A policy that denies coverage due to improper installation negates any DIY savings.
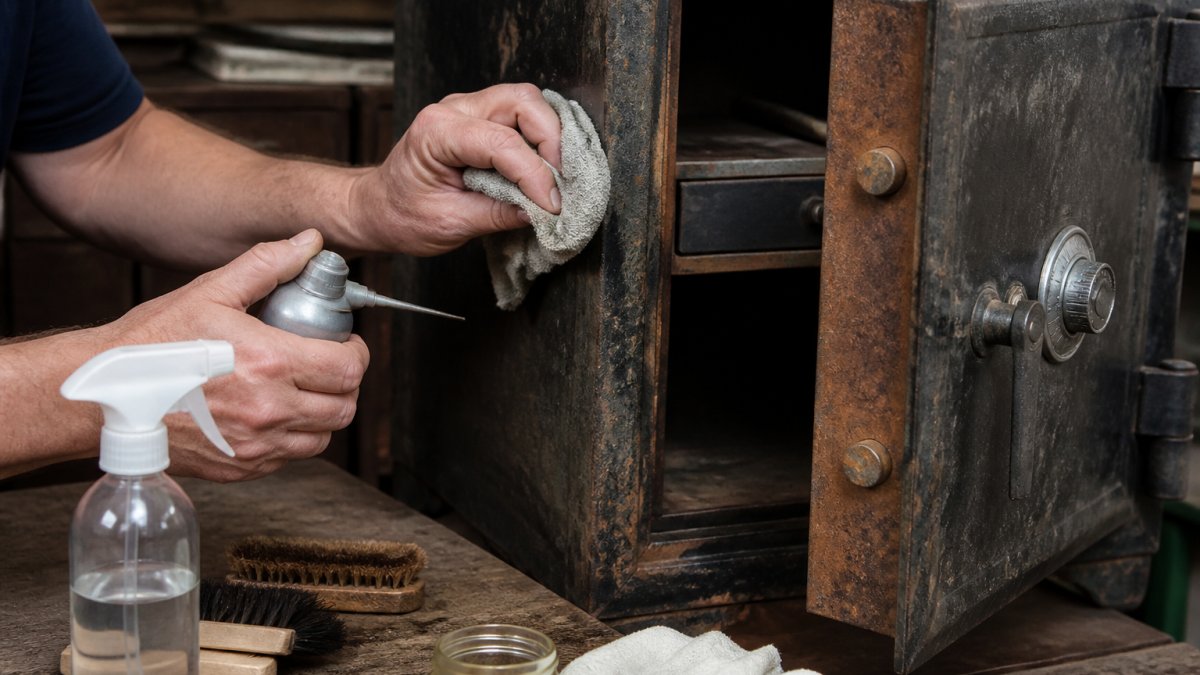
The safest approach combines professional installation with your own ongoing maintenance: let professionals handle the complex work, then maintain the safe with regular bolt checks and lubrication.
Conclusion
The cost of installing a home safe in Plant City depends on safe type, weight, your home's structure, and whether you hire professionals. Understanding these variables helps you budget accurately and avoid surprises. Bay Safe and Lock has guided homeowners through this process for over a decade, and informed decisions lead to better security outcomes.
Whether you choose a wall safe, floor safe, or concealed installation, proper anchoring and professional assessment ensure your valuables remain secure. Contact Bay Safe and Lock today for a free in-home assessment. Our licensed and insured team will evaluate your needs and provide a detailed estimate. NEED AN ESTIMATE FOR YOUR PROJECT? CLICK HERE
Frequently Asked Questions
What factors affect the cost of installing a home safe?
Safe weight, size, and type significantly impact installation cost. Heavier safes require reinforced mounting and more labor. Installation location matters too, floor safes in concrete cost more than wall safes. Delivery fees, in-home assessment costs, and labor charges vary by complexity. Fire-resistant and advanced security safes command higher prices than basic models. Anchoring requirements and whether the safe needs bolting to the structure also influence the final bill. Contact Bay Safe and Lock for a detailed quote based on your specific safe and installation needs.
How much does it cost to install a safe in your house?
Home safe installation pricing depends on quantity, safe type, delivery requirements, and installation complexity. Residential installation services typically include site assessment, mounting preparation, anchoring, and testing. Delivery fees, labor costs, and specialized equipment needs vary. For accurate pricing tailored to your home and safe specifications, Bay Safe and Lock recommends requesting a free estimate. Our team will evaluate your access constraints, wall or floor conditions, and security requirements to provide transparent, itemized costs.
Where should you install a home safe?
The best location balances security, accessibility, and structural suitability. Common options include bedroom closets, home offices, basements, and interior walls away from windows. Avoid obvious spots like master bedrooms or near entry points. Consider floor loading capacity, wall studs for wall safes, and whether the location allows proper anchoring. Closets offer concealment but may limit access during emergencies. Basements provide structural support but risk water damage. Professional installation services assess your home's layout, doorway clearance, and stair access to recommend the most secure and practical placement for your safe type.
Should I hire a locksmith to install a home safe?
Professional installation is recommended for safes over 100 pounds or fire-resistant models, which require specialized mounting and anchoring. A licensed locksmith ensures proper bolt-down installation, correct placement for security and access, and compliance with safety standards. DIY installation risks improper anchoring, damage to the safe or home structure, and reduced security. Bay Safe and Lock's licensed, insured technicians handle in-home assessment, delivery, and expert installation, protecting your investment and ensuring your valuables are properly secured.
NEED AN ESTIMATE FOR YOUR PROJECT? CLICK HERE

Comments